


Introduction
Node.js is a Javascript runtime that makes the execution of Javascript code outside of a browser. It has been the foundation for most of the modern web applications because of its speed and scaling capabilities. But, if you are familiar with Javascript (which I hope you are), you know that Javascript is single threaded, and most of the conventional backend solutions, like Apache, relies on one-thread-per-request model, meaning that for each incoming request, a new thread is spawned to handle that request. These threads were then responsible to handle the I/O for each request, for example, getting data from a database.
Node.js still runs on a single thread, but the reason why it is so performant is because of its non-blocking I/O using event-loops and callbacks, because of which it is able to offload all the blocking operations, such as querying a database, to the underlying OS’s kernel and manages them using the assigned callbacks. Read more here. This allows Node.js to handle concurrent requests even after running on a single thread.
But in real-world scenarios, this is still not enough. What if for some requests, your server has to perform large computation which is synchronous in nature? Or what if you need to handle many concurrent requests, as you scale up, which can overwhelm the event loop?
Node.js provides a solution to this out of the box. Instead of having multiple threads within a node process, you can create multiple node processes in each on of your CPU cores. Let’s see how.
Creating a blocking server
Let’s see a simple server code that is blocking in nature.
const express = require('express');

const app = express();

function delayed(delay) {
  const start = new Date().getTime();
  while (new Date().getTime() - start < delay) {
    // do nothing
  }
}

app.get('/', (req, res) => {
  res.send('Blocking server');
});

app.get('/delayed', (req, res) => {
  delayed(10000);
  res.send('Request Complete');
});

app.listen(3000, () => {
  console.log('Server listening on port 3000');
});
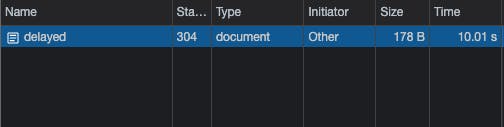
The above code shows a simple express server. The /delayed route delays the response to the request by 10 seconds. Note that the operation is not any I/O operation and will not be handled by the event loop.
So when we run this server and send a request to /delayed, the response time is 10 seconds. But notice that if you were to fire another request instantly to the same route, the response time is almost 18 seconds (some time passed because of switching tabs and making another request). This means that the second request was only handled after the first one was completed.

While this was an unlikely example of a blocking server, there are many scenarios where your code could become blocking (probably ranging between a few milliseconds to a few hundred milliseconds). For example, JSON.parse() and JSON.stringify() which are very widely used can become blocking if the object or string is very large. Similarly, encryption or decryption methods can become blocking as they are CPU intensive.
Node’s inbuilt cluster module
A solution to this problem, as mentioned above, is to run multiple node processes in your CPU. This way even if a blocking request is being handled by one process, other incoming requests can be handled by other processes. Node.js provides a solution to this out of the box in the form of its cluster module.
The cluster module allows for the creation of child processes which run in a master-slave architecture and share the same port.. The master is responsible for running and managing the workers, while the worker processes have the copy of the same server code which is used to handle the requests. Child processes are created using the fork() method. The requests are distributed between the workers using the round-robin method, except Windows.
const express = require('express');
const cluster = require('cluster');
const totalCPUs = require('os').cpus().length;
const app = express();

function delayed(delay) {
  const start = new Date().getTime();
  while (new Date().getTime() - start < delay) {
    // do nothing
  }
}

app.get('/', (req, res) => {
  res.send('Blocking server');
});

app.get('/delayed', (req, res) => {
  delayed(10000);
  res.send('Request Complete');
});

if (cluster.isMaster) {
  console.log(`Number of CPUs is ${totalCPUs}`);
  for (let i = 0; i < totalCPUs; i++) {
    cluster.fork();
  }
} else {
  console.log(`Worker ${process.pid} started`);
  app.listen(3000, () => {
    console.log('Server listening on port 3000');
  });
}
The above code imports the cluster module and creates as many child processes as the number of CPU cores in your system. In my case, 10 child processes are spawned with each listening on port 3000.

Now, if we mimic the above scenario of making simultaneous requests to /delayed, two child processes can handle them concurrently.


Introduction to PM2
PM2 (Process Manager 2) is a Node.js process manager built on top of its cluster module. It can start, stop, restart and even monitor multiple node processes. It even comes with an inbuilt load balancer to distribute traffic between your multiple node processes.
Installing PM2
npm i pm2 -g
Using PM2
Now, we can just use PM2 to start our above node server in production by ruinning
pm2 start index.js

We would still be able to handle concurrent requests as we did earlier. However, this is not utilising PM2’s capabilities but instead is still spawning processes using the cluster code we wrote.
To use PM2 to spawn the processes, we can remove the cluster-related code from our server code.
Now, we can run the following command to spawn 2 worker processes.
pm2 start index.js -i 2
Here, -i stands for instance, following which we can define the number of worker processes we want. If we want to maximise the number of workers, we can run
pm2 start index.js -i max
which will spawn as many processes as the number of cores in our CPU.

Stopping and Restarting
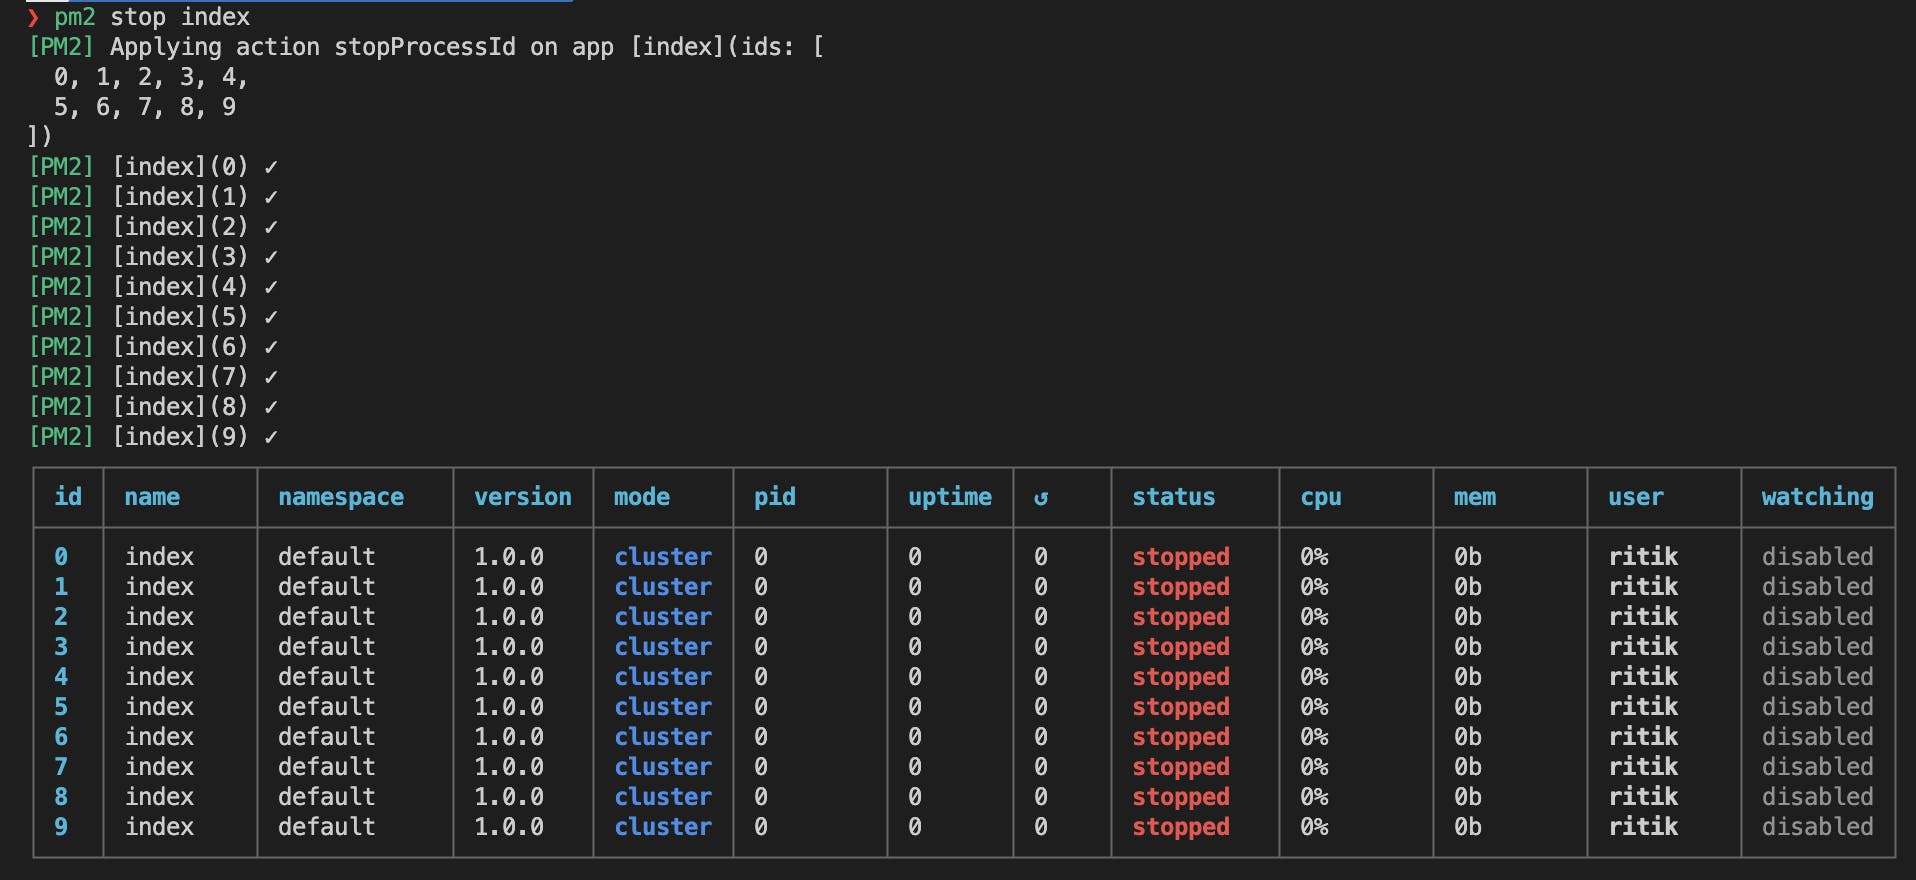
We can stop the whole cluster using
pm2 stop {process-name}
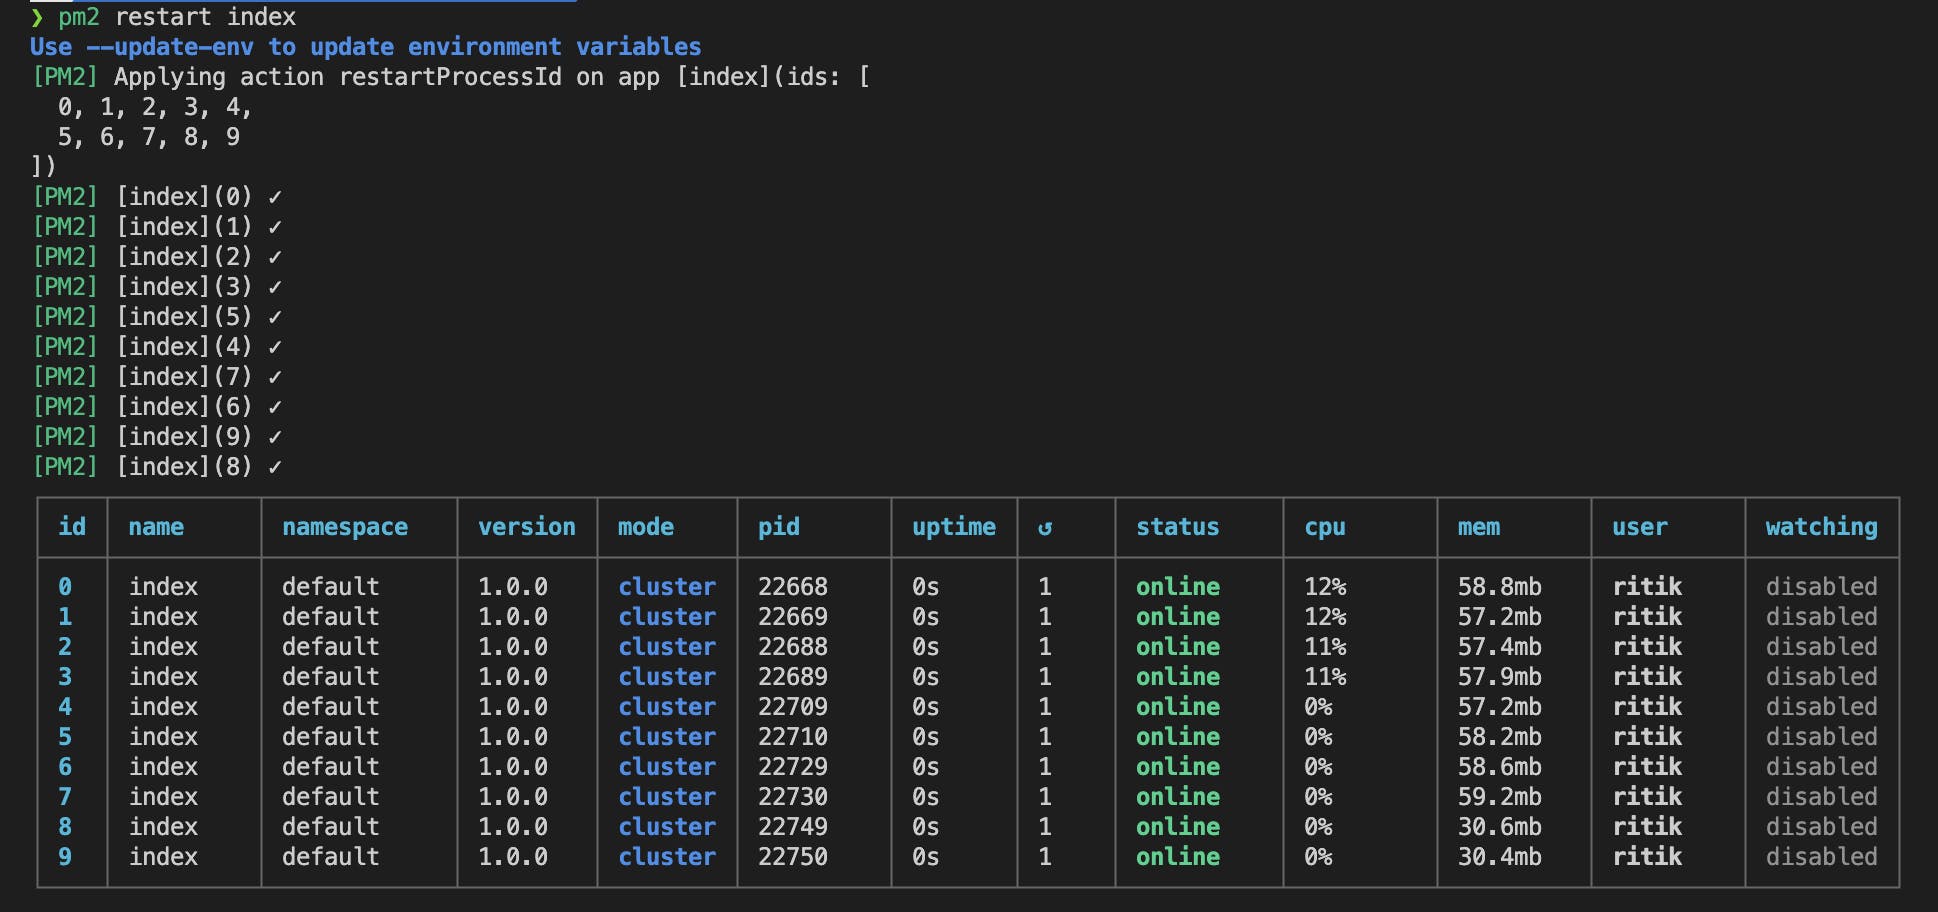
And we can restart the cluster using
pm2 restart {process-name}
We can even stop or restart individual worker processes using
pm2 stop {process-id}
pm2 restart {process-id}
Zero Downtime Restart
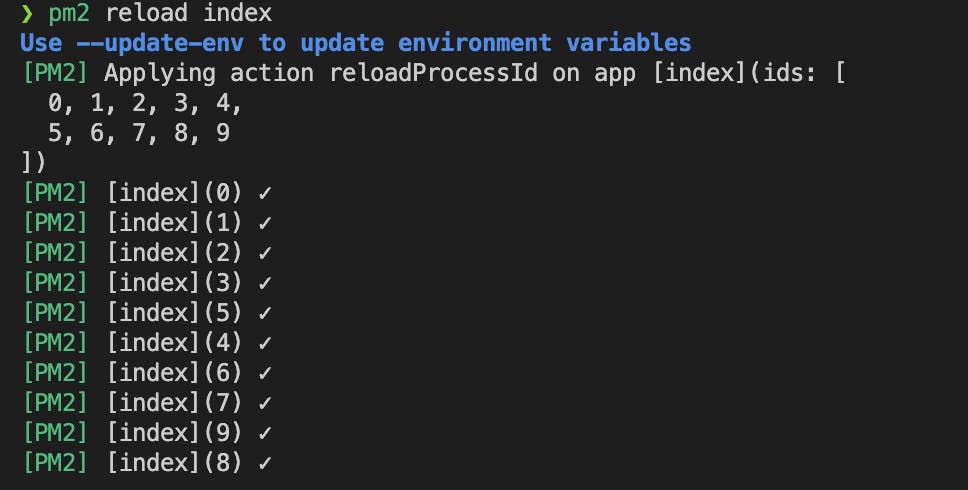
While deploying new changes to production, we never want our existing service to go down. At least one process should be available while others are being restarted. PM2 provides an easy way to do this. We can restart the whole cluster while keeping at least one process alive using
pm2 reload {process-name}
Viewing Logs
You might notice that PM2 starts the cluster in a detached mode and you don’t see any logs. You can view the logs from your server using
pm2 logs {process-name}

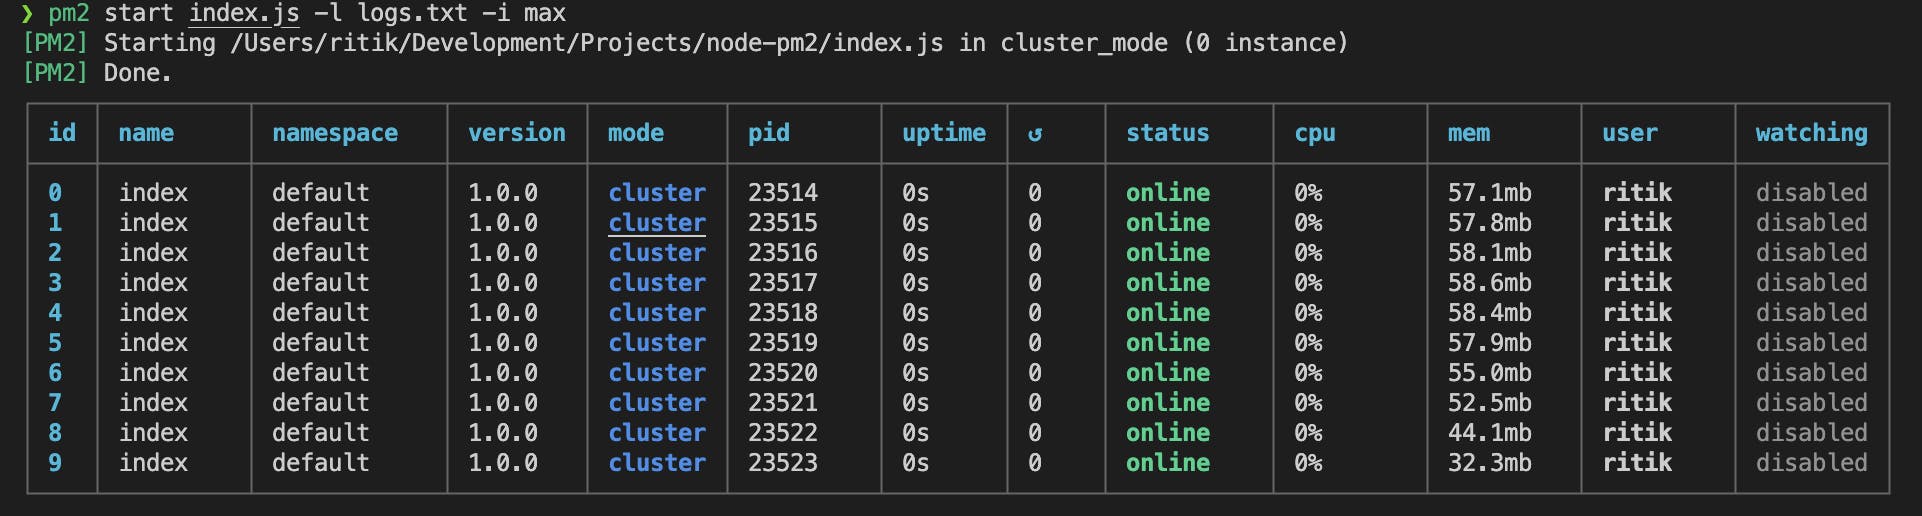
You can even specify a text file where your logs should be saved from the processes while starting your cluster.
pm2 start index -l logs.txt -i max

You can explore more PM2 features on its official documentation.
Conclusion
PM2 provides a simple and great way to improve your Node application’s performance and take full advantage of your hardware resources and Node’s optimisations. By running multiple processes, listening on the same port, your server can now respond to multiple concurrent requests. However, this is the first step in scaling up your server as it still may get limited by your hardware, like the number of cores available. Further steps can include running your clusters on multiple containers and managing them with a dedicated load balancer.